Run an AI training call
Who this is for: Sales reps (Member) and higher account roles.
Before you begin
- Your company needs enough credits (shown in the top bar).
- Allow microphone access in your browser.
- Recommended: a quieter room and a stable internet connection.
Step 1 — Open call setup
From the app menu, open AI Training. You’ll land on Company Details.
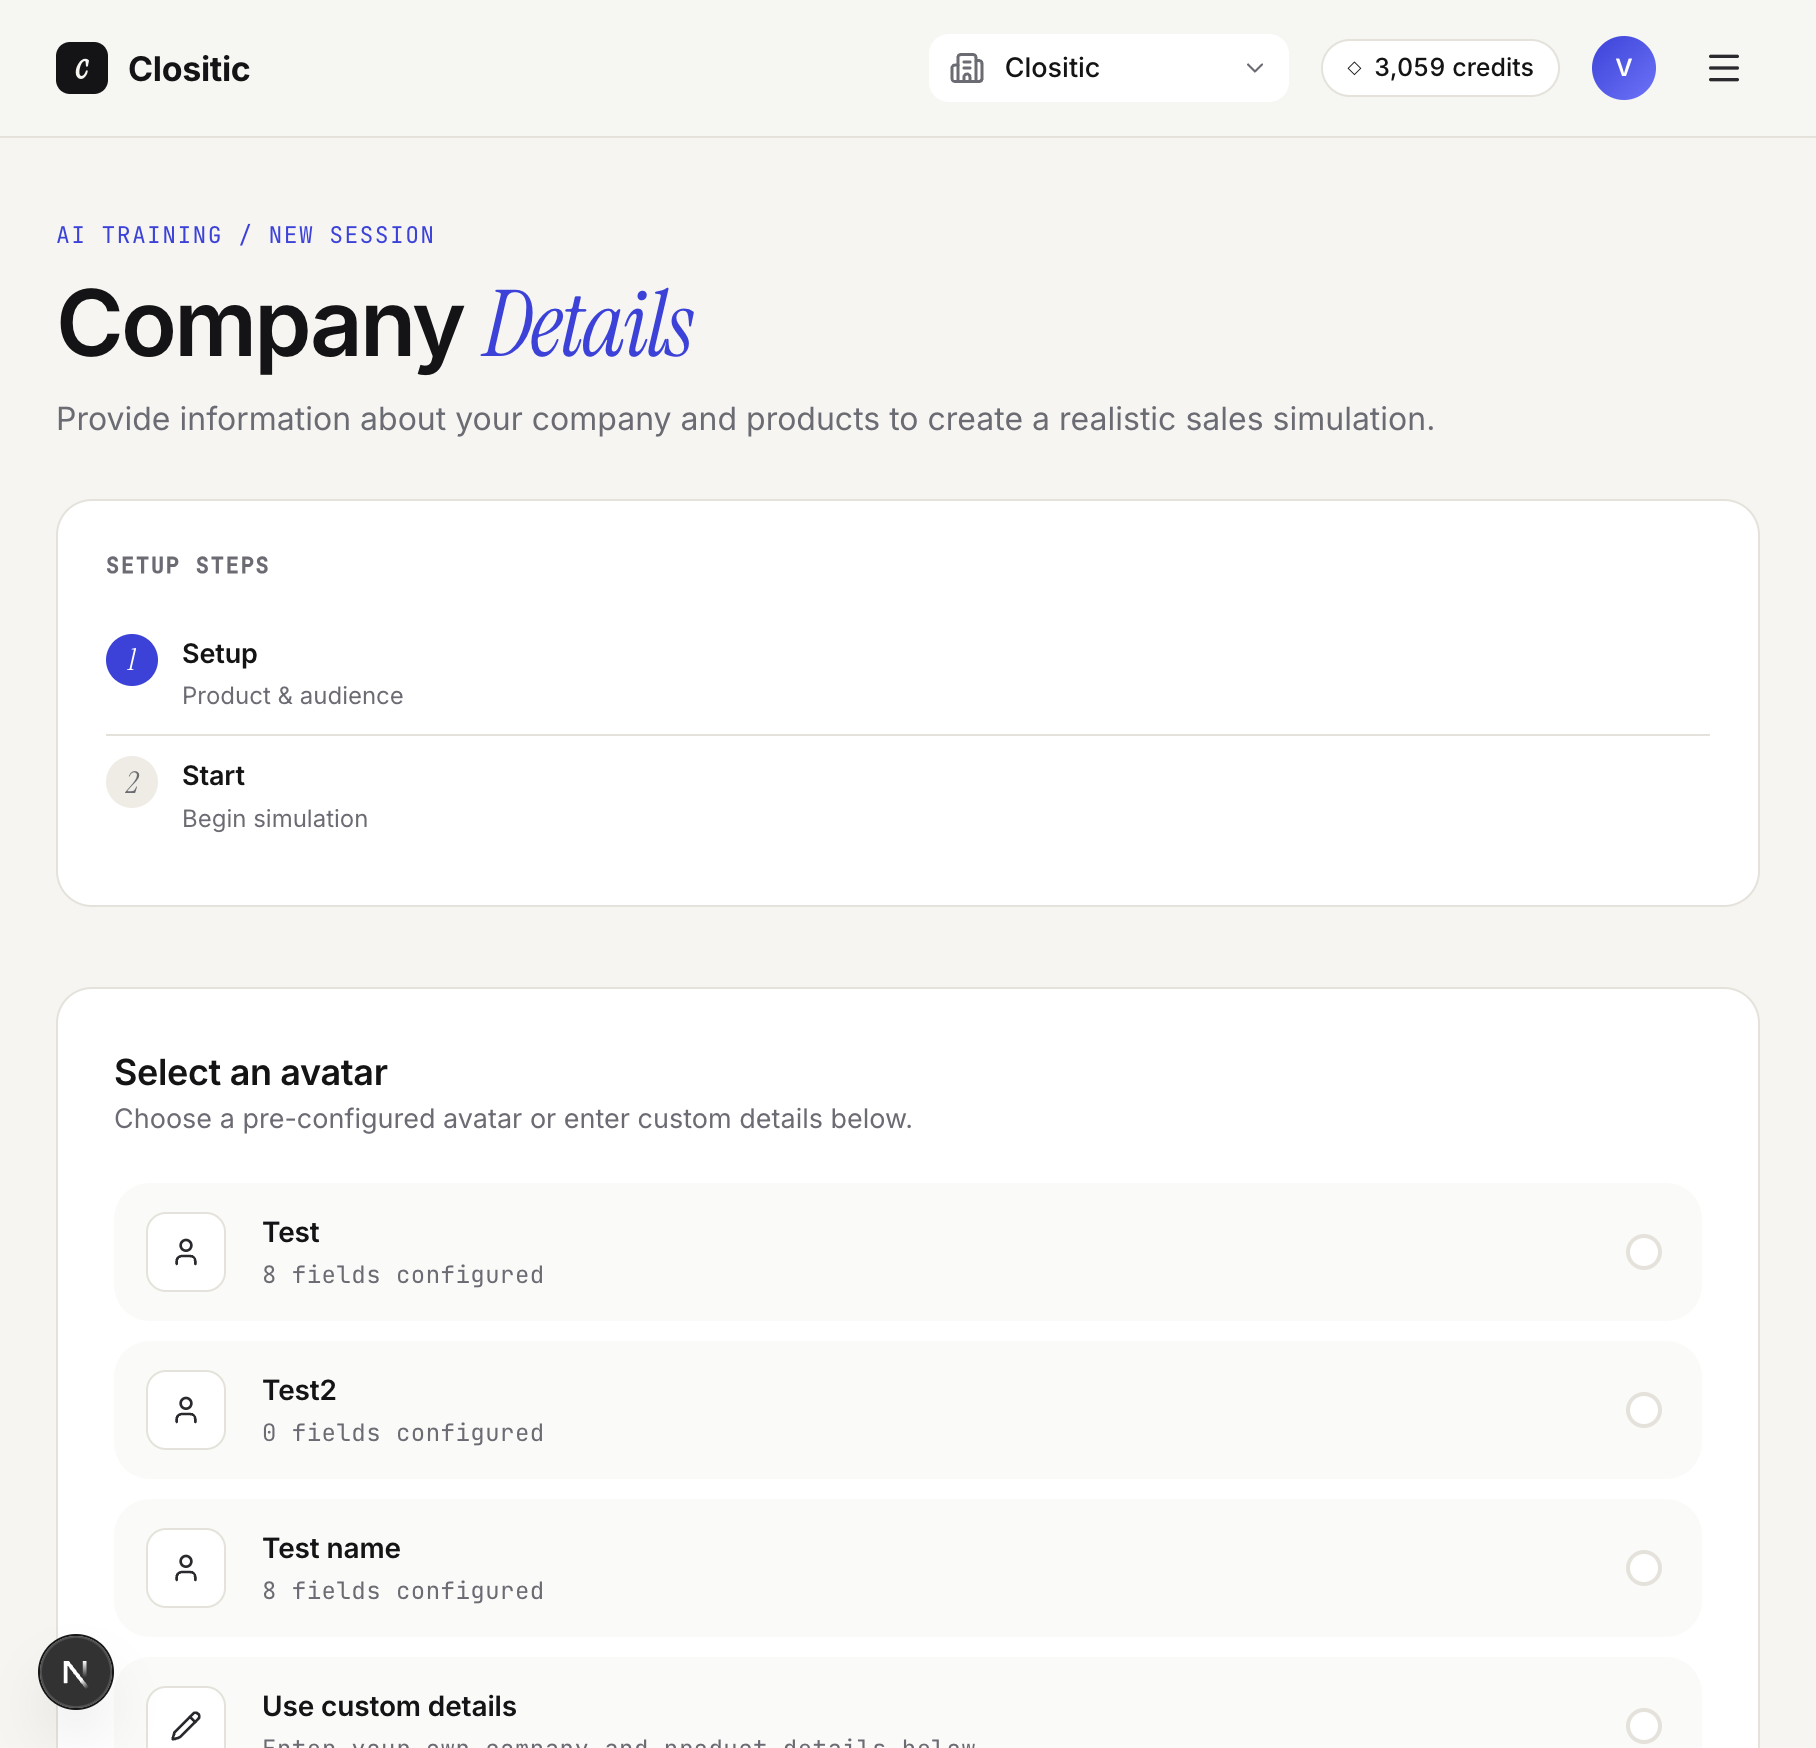
Step 2 — Choose how to configure the scenario
Option A — Pre-configured avatar
- Under Select an avatar, pick a card.
- Review the pre-filled fields. (Note that some or all fields may be locked for editing. If you need to change a locked field, first check whether another avatar has the right value; if not, contact your workspace manager.)
Option B — Custom details
- Select Use custom details (if enabled in Settings).
- Fill in all required fields: product, B2B/B2C, pricing, industry, speech language, roles, and call goal.
Step 3 — Set difficulty and consent
- Adjust Sales call difficulty (1–5).
- Tick the AI consent checkbox.
- Click Start simulation (the button may show Consent required until step 2 is done).
If credits are too low: Insufficient credits — contact your manager.
Step 4 — Call
On the Sales Simulation screen:
- Click Start Call when you are ready to talk.
- The first time you start a call, your browser will ask you to confirm microphone access.
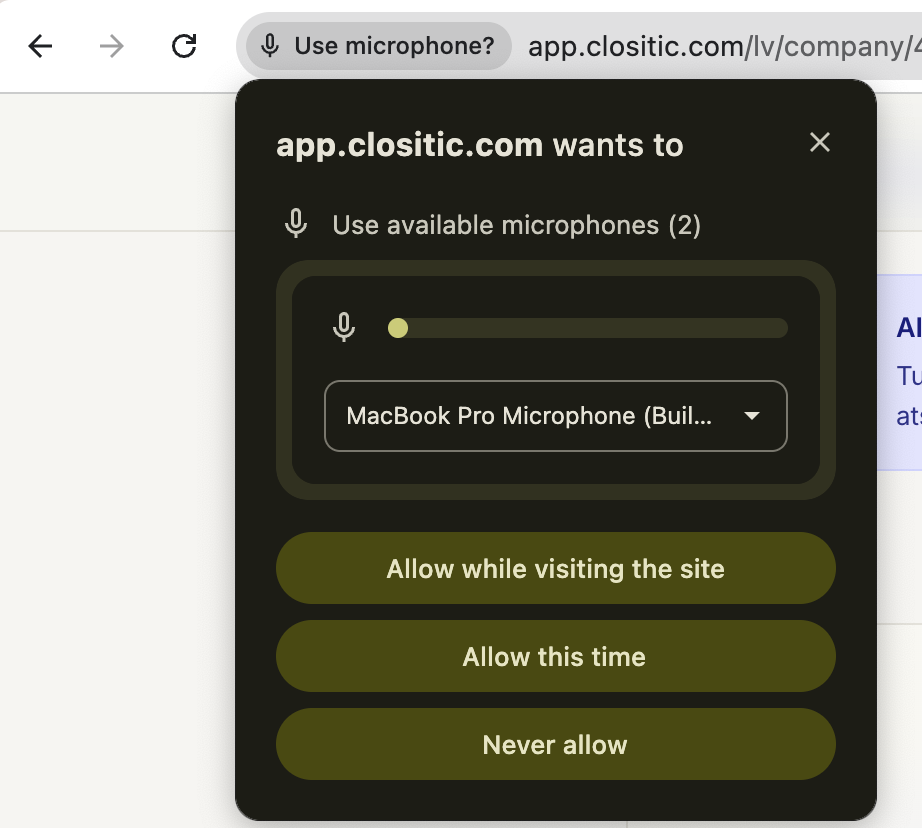
- Speak when the status shows Listening….
- Tap the microphone icon if you do not want the AI to hear you at a given moment.
- Click End Call to finish the conversation.
| Status | Meaning |
|---|---|
| Connecting… | Session is starting |
| Listening… | Speak now |
| Speaking… | AI buyer is talking |
| Connection lost | End the call and start a new session |
Step 5 — After the call
- New call — start another session
- View analysis — call report with scores and recommendations (Analysing… may appear briefly first)
If something goes wrong
See Troubleshooting.